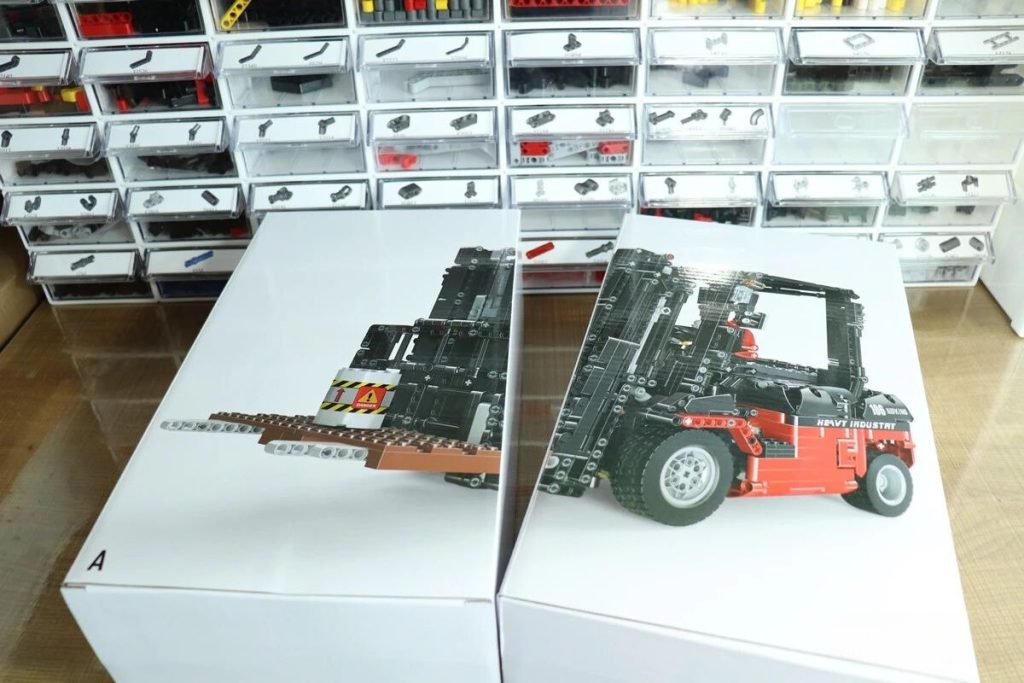
Review: MOULD KING 13106 Technir Remote Control Forklift
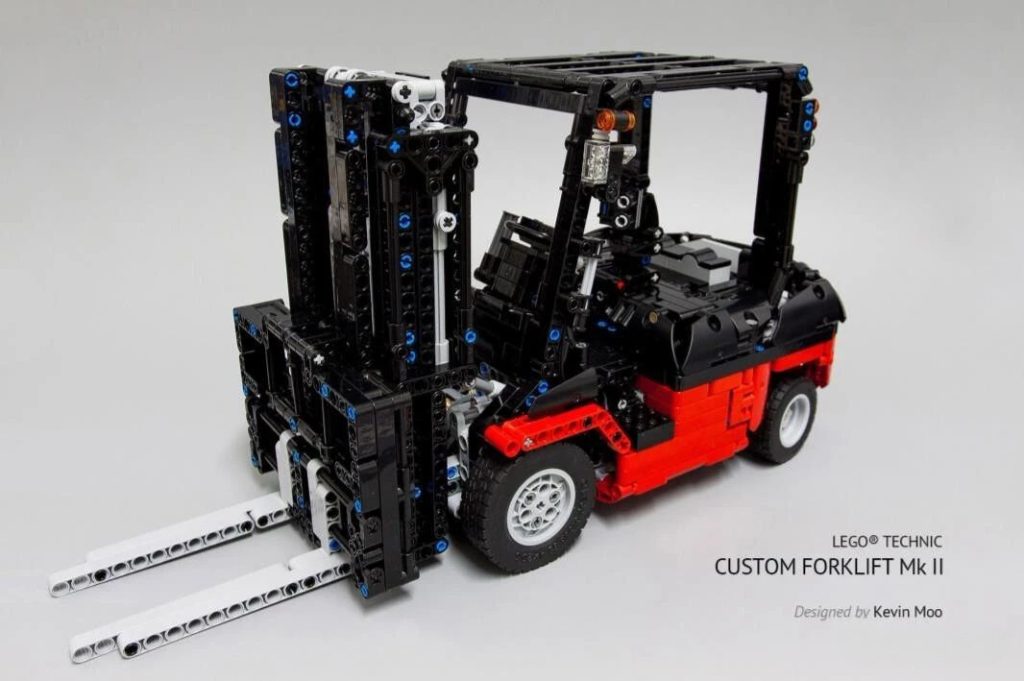
The MOULD KING 13106 Forklift is actually a replica of the work of the MOC designer Kevin Moo.
The author, Kevin Moo, is a well-known Chinese MOC designer on the ReBrickable.com, and has published many popular original works. Another of his Sherp ATVs is also a classic that gets a lot of attention.
Because compared with the original design MOC-3681, the MOULD KING Forklift has basically no other changes except for a gear change and a change to adapt to the PF parts. It can be said that 99.99% of the Kevin Moo’s design has been restored.
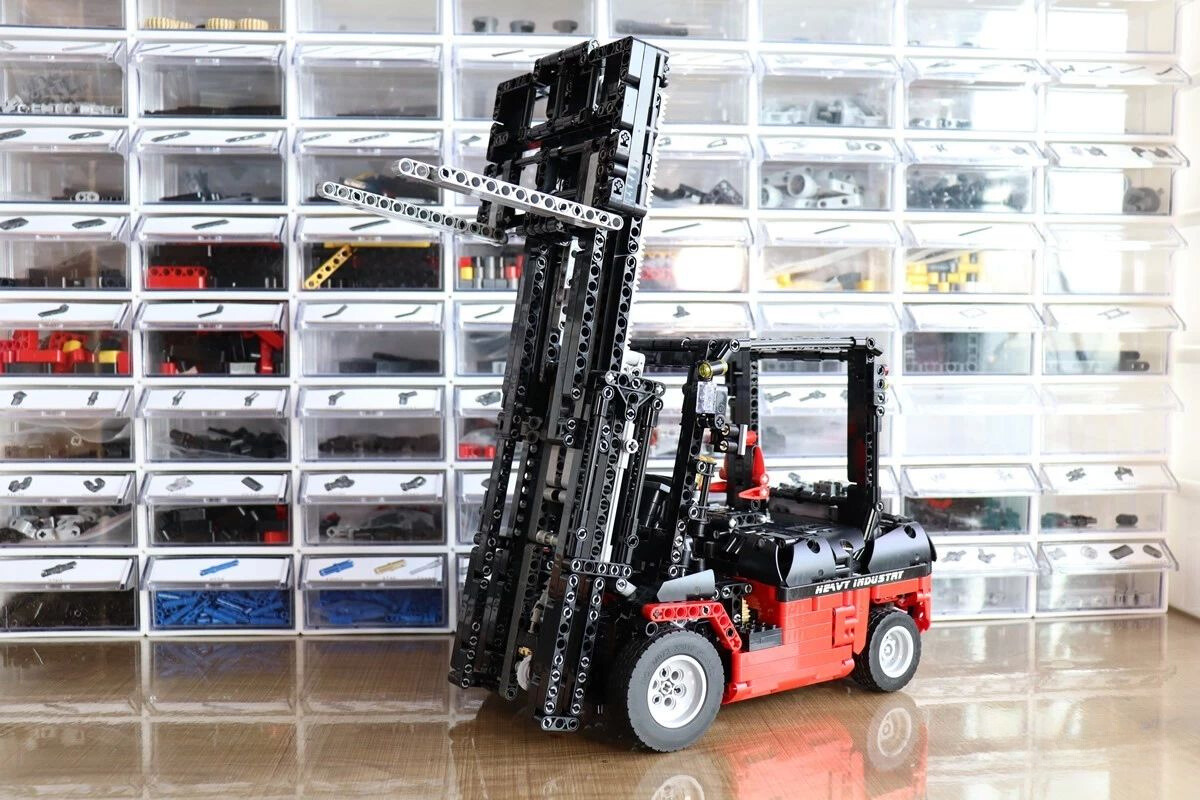
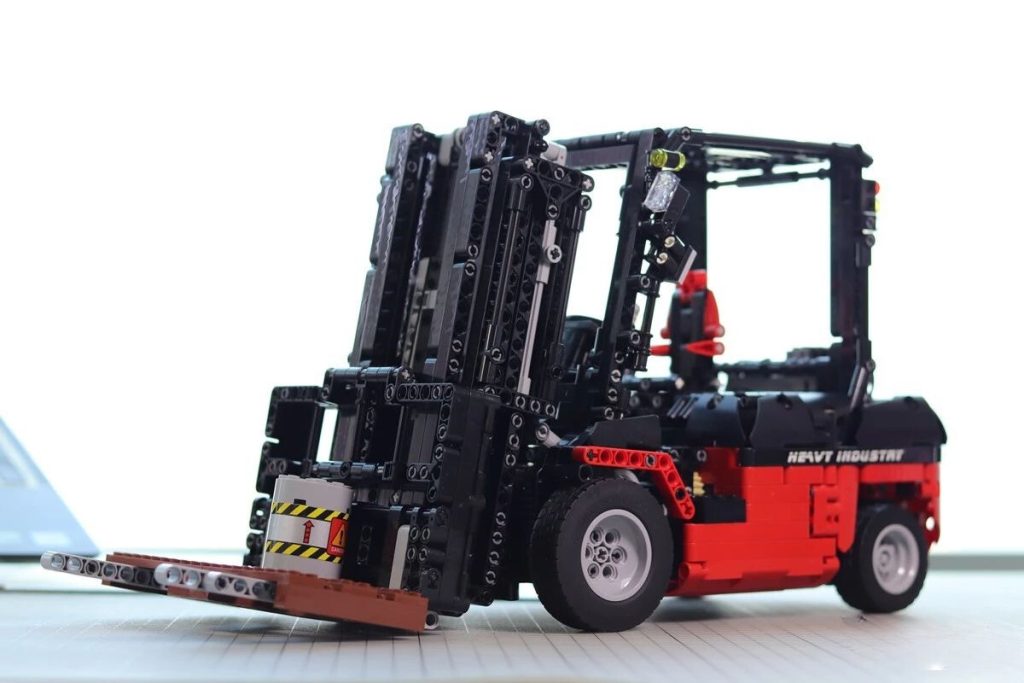
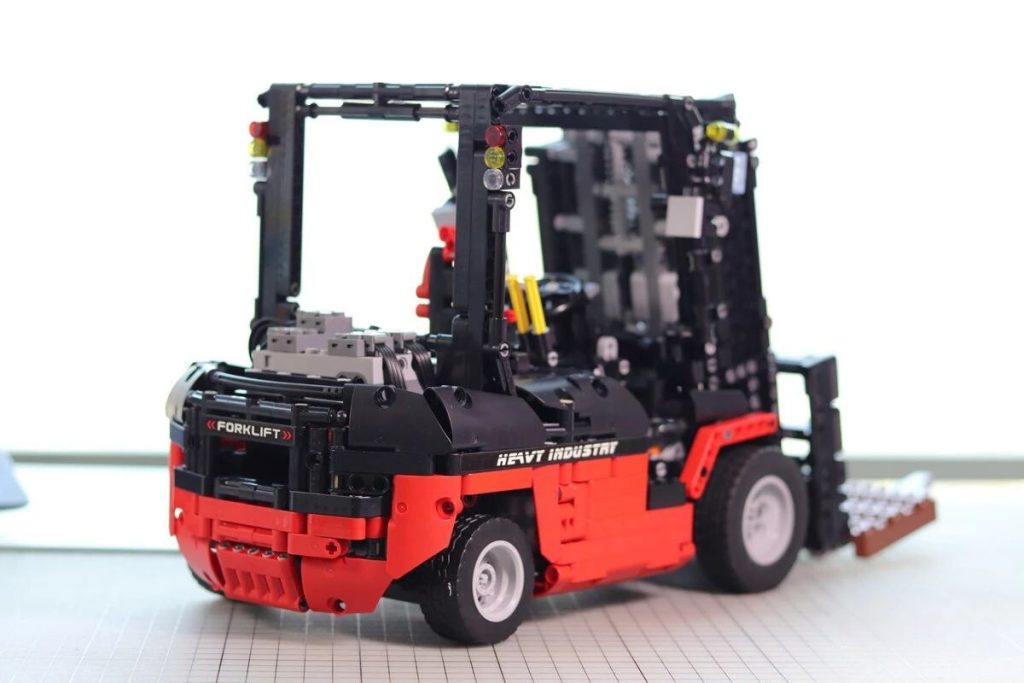
The MOULD KING 13106 Technir Remote Control Forklift is the most feature-packed forklift you’ll ever encounter.
It’s fully remote-controlled, allowing you to steer the rear wheels, drive the front wheels, lift the forklift to an impressive height of 39.5cm, and tilt the lift, all with the touch of a button.
The forklift can be controlled using either the included remote control or your phone app, making it incredibly easy to operate.
What sets this forklift apart, though, is the visible gears and mechanisms in action as well as how accurately they mimic the movements of a real forklift.
From the intricate lift to the expertly designed rear-wheel steering, you won’t find a more detailed and realistic forklift on the market.
Let’s Start Our Speed Build
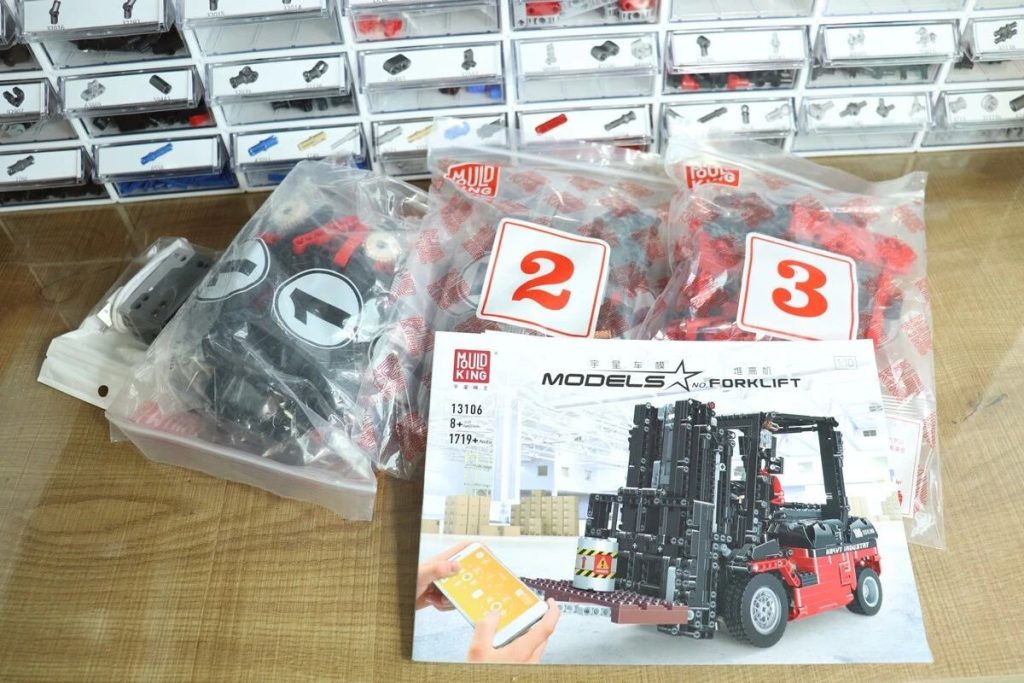
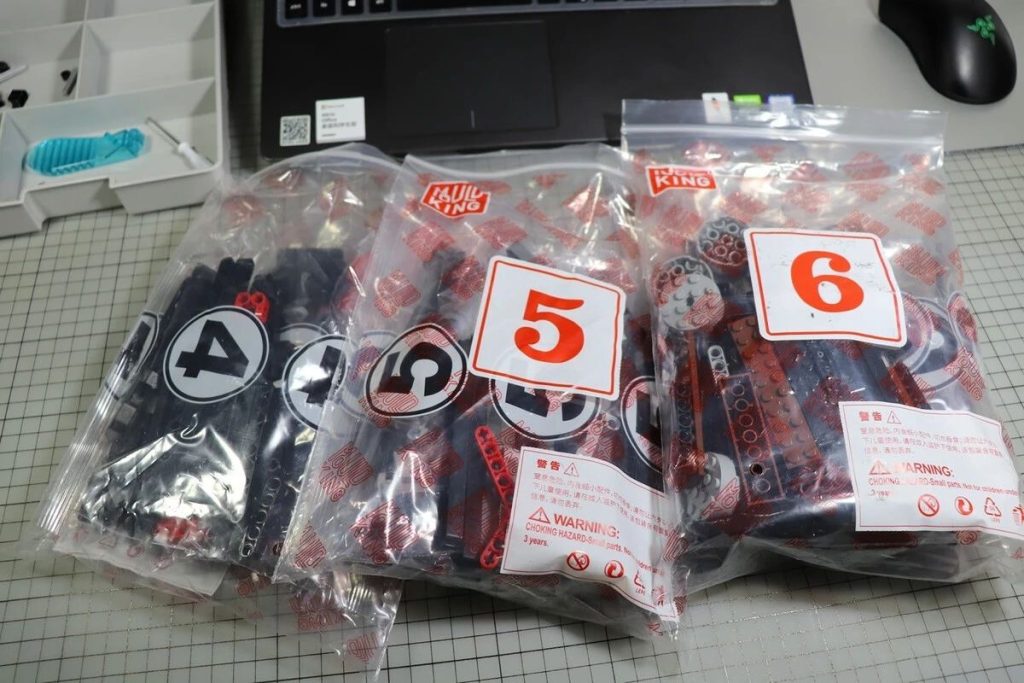
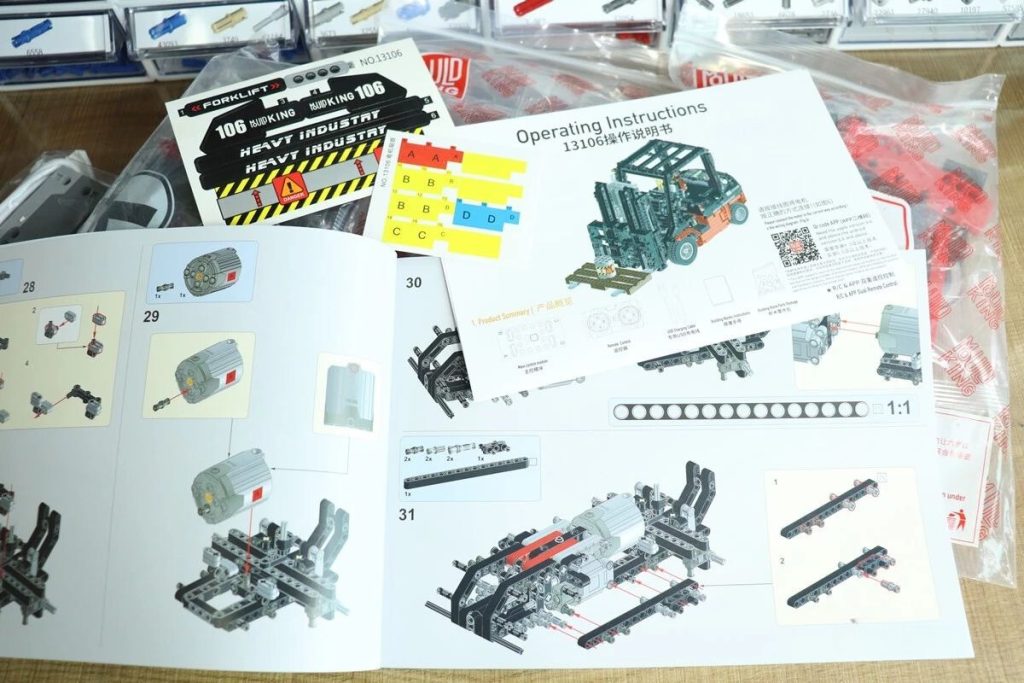
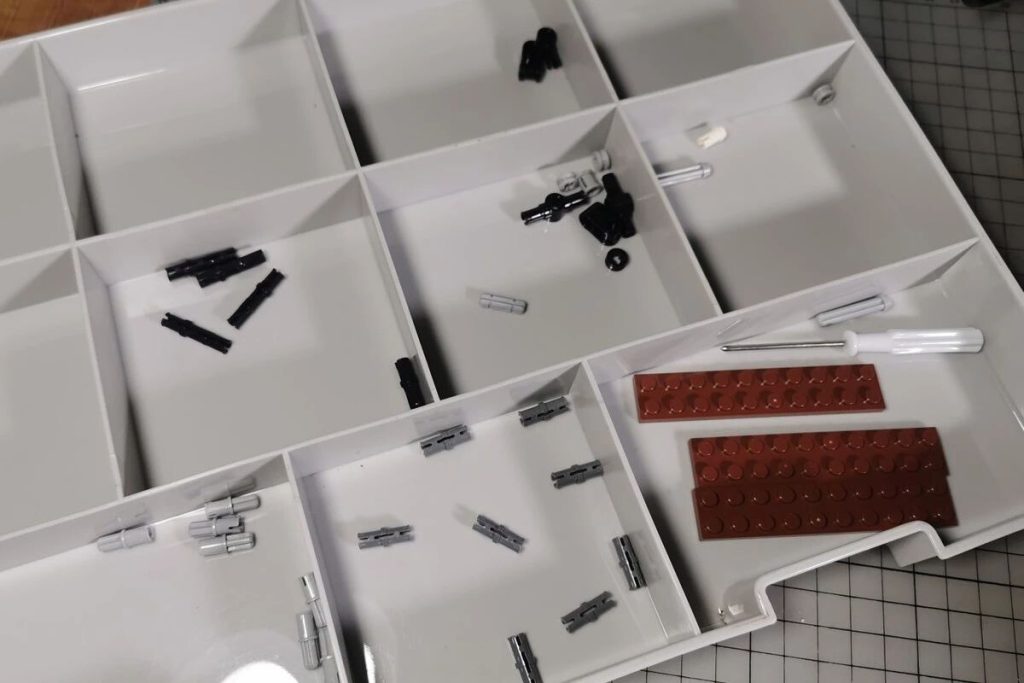
When you open the gift box, you’ll find two smaller boxes. Inside these, you’ll see a total of six bags of parts, along with the power function components. There’s also one beautifully printed instruction manual.
Pre-Build Preparation
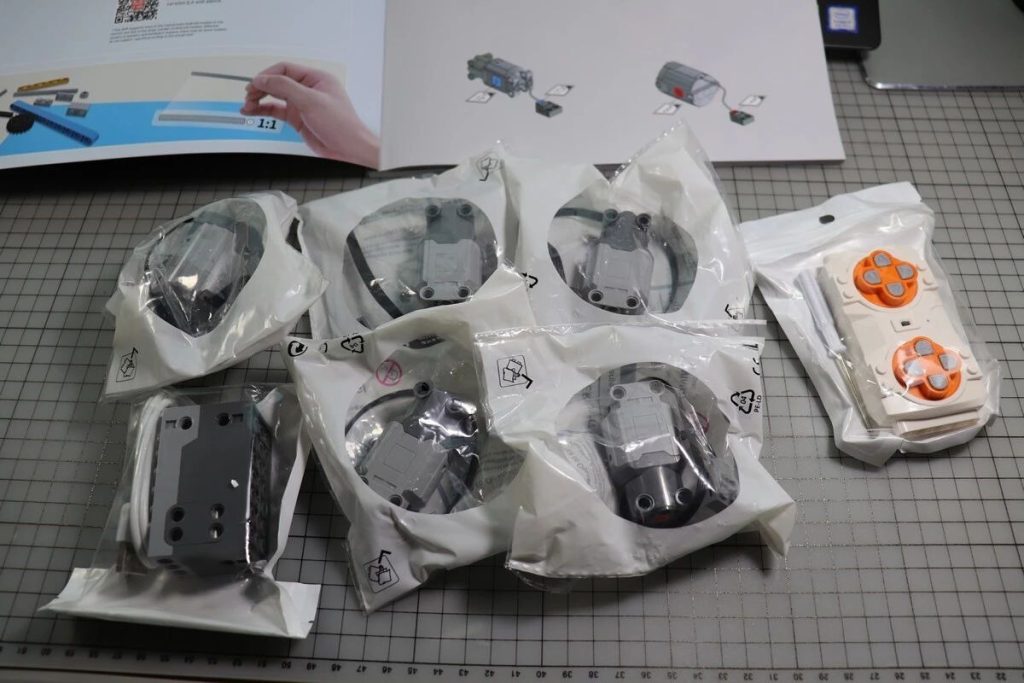
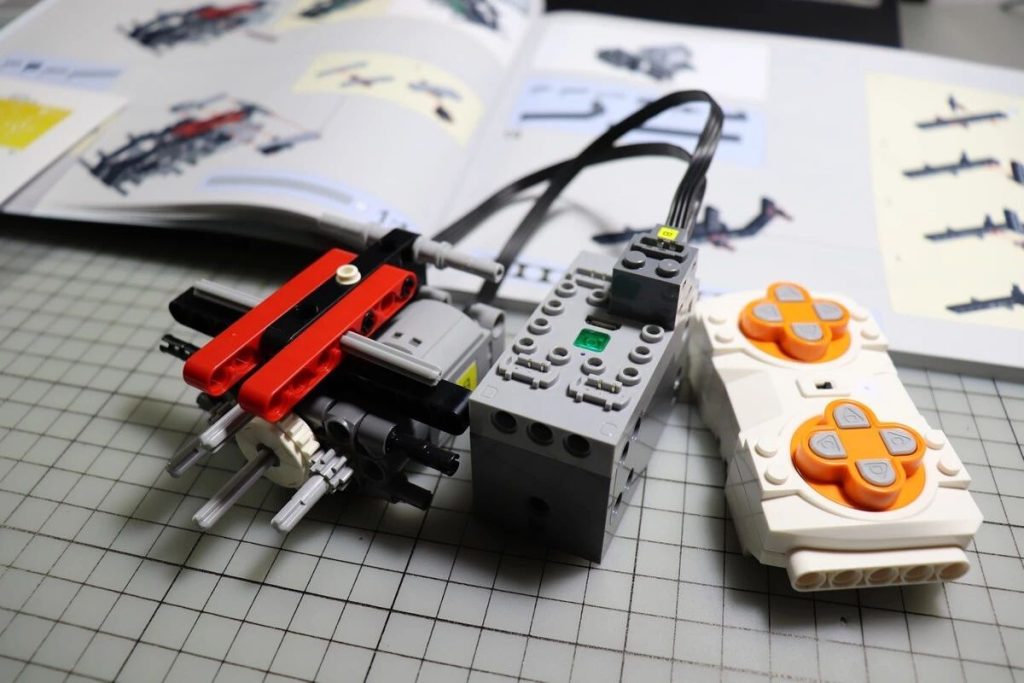
The forklift comes with one XL motor and four L motors. The XL motor powers the movement of the vehicle, while one of the L motors handles steering. Two of the L motors control the lifting of the forks, and the final L motor is responsible for unloading the forks.
Before we start to build, we should check if the power function accessories of this set work or not.
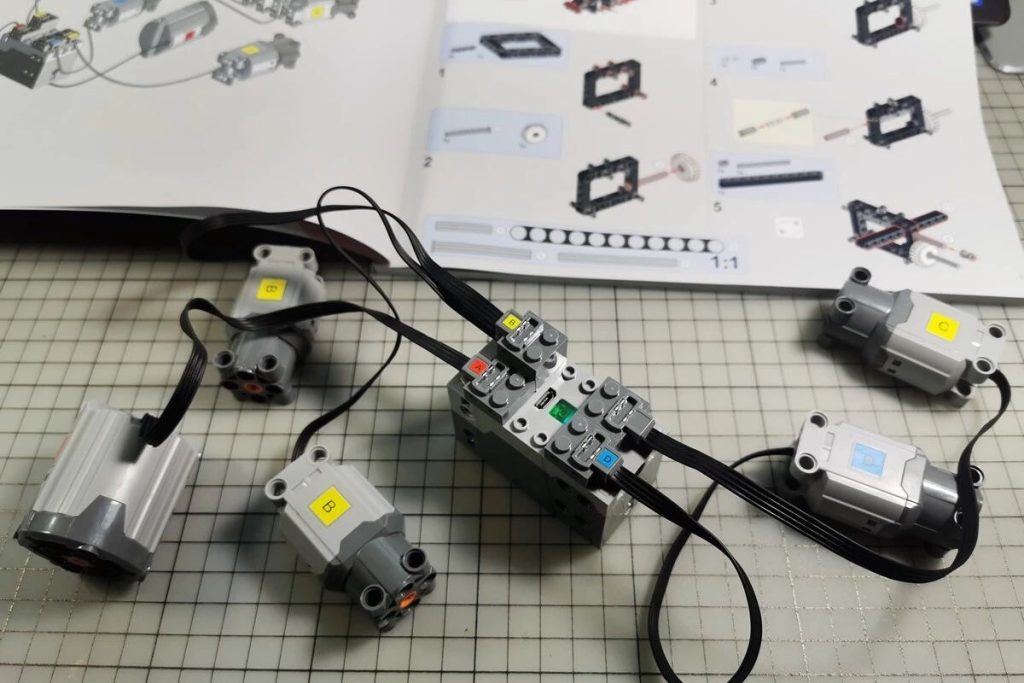
Charge up the rechargeable battery pack provided with the set. Check the wiring with the battery box and make sure it works. Two motors should be able to move it front or back.
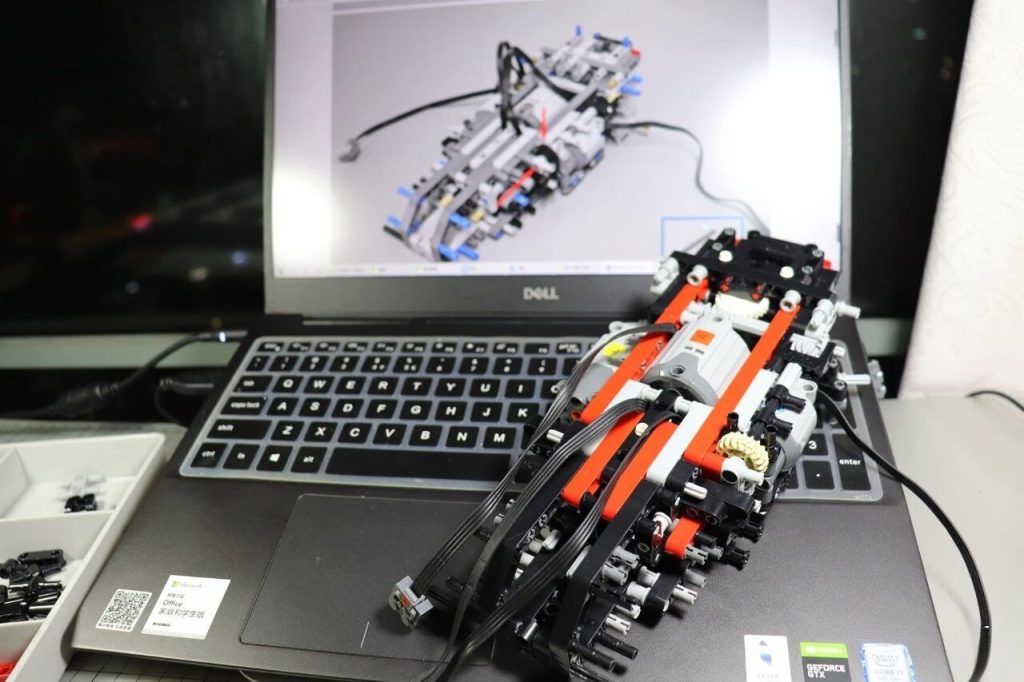
It took me about 10 hours to assemble everything, which includes time spent checking the parts and taking photos.
Start to Build
Start with building the forklift’s exterior shell or chassis. Construct the sides first, following the manual to add panels and technic beams. Then assemble the front and back parts, attaching them to the sides. Make sure everything is solid and well-structured.
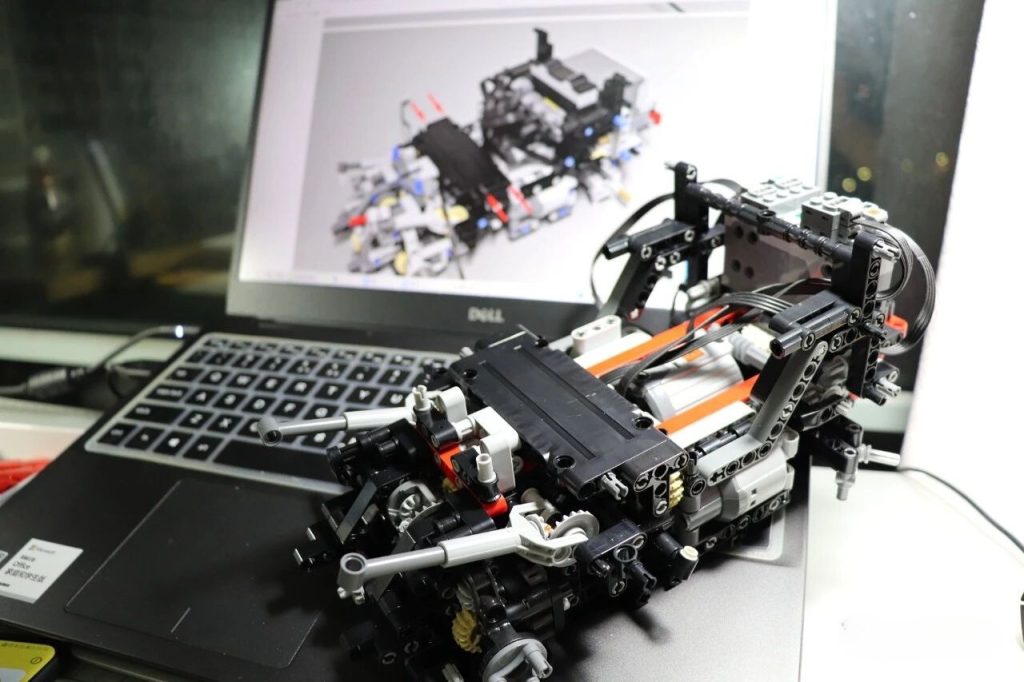
Next, assemble the steering wheel and column as shown in the instruction booklet. Attach the steering column to the forklift, making sure the gears fit together well. You may need to adjust manually to align the steering correctly.
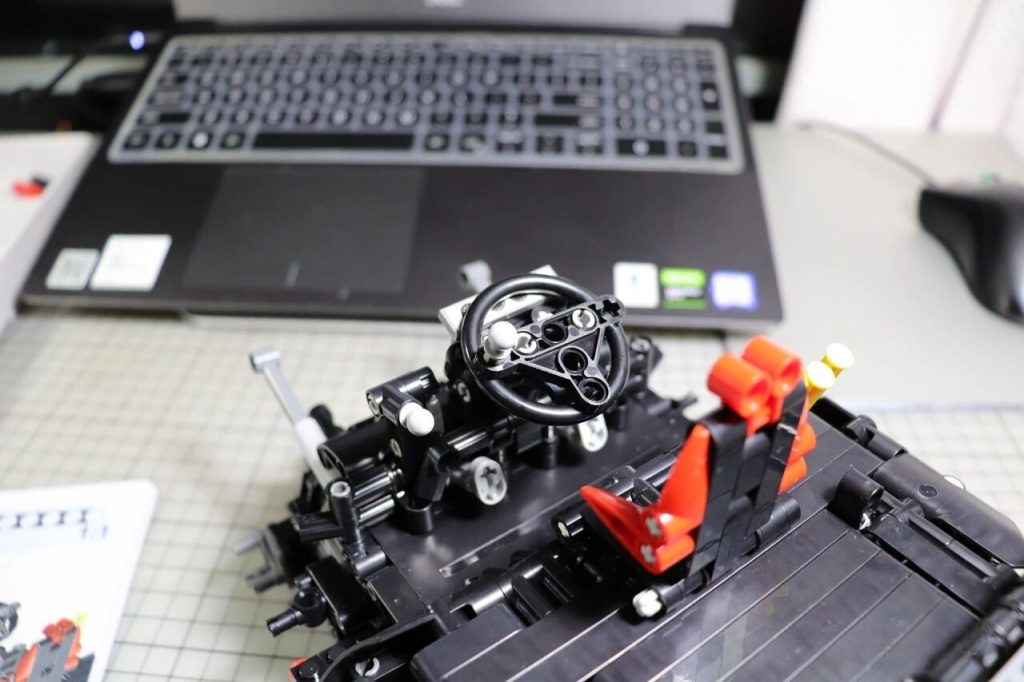
Move on to constructing the cage framework. Secure all beams and panels tightly and align the cage with the existing model.
Attach the cage to the forklift’s main body. The connections should be strong to keep the structure intact.
Follow the instructions to adjust the axles.
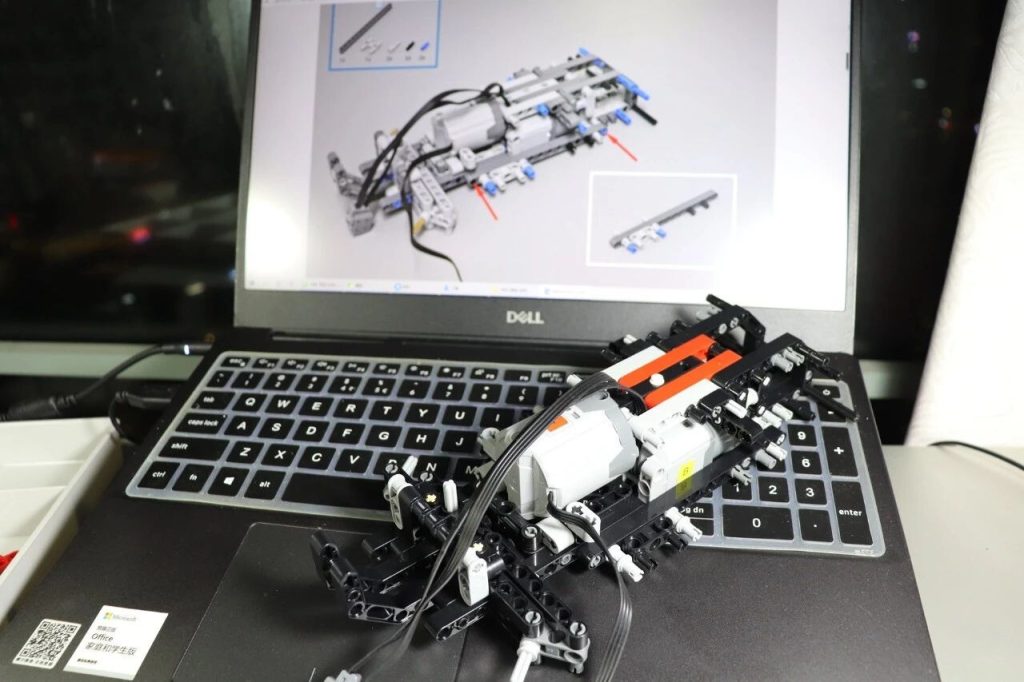
Next, assemble the fork using the instruction booklet. It’s made up of several beams and plates that need to be firmly attached.
Build the gears and levers for the lifting system, then connect the fork to it.
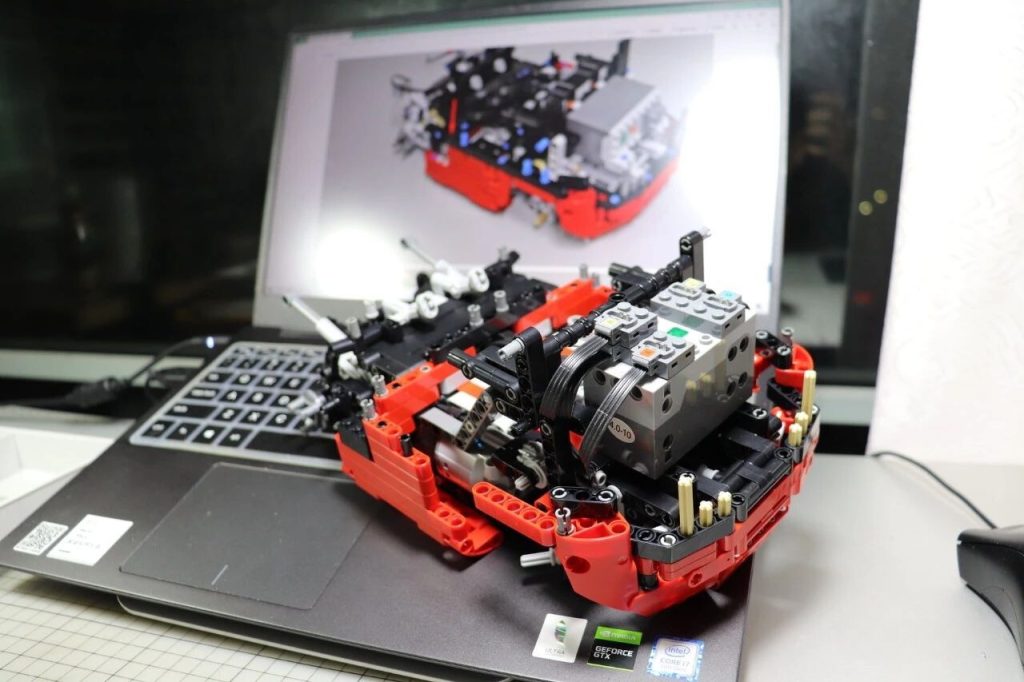
Combine the lifting system with the rest of the model, ensuring it moves smoothly and fits with the overall forklift.
Finally, apply the stickers to the forklift.
Check all parts are secure and all mechanisms work as they should.
Some Tips and Suggestions
The forklift has a total of four L motors. Two of these motors, which control the fork’s lift height, are plugged into the same port (B port).
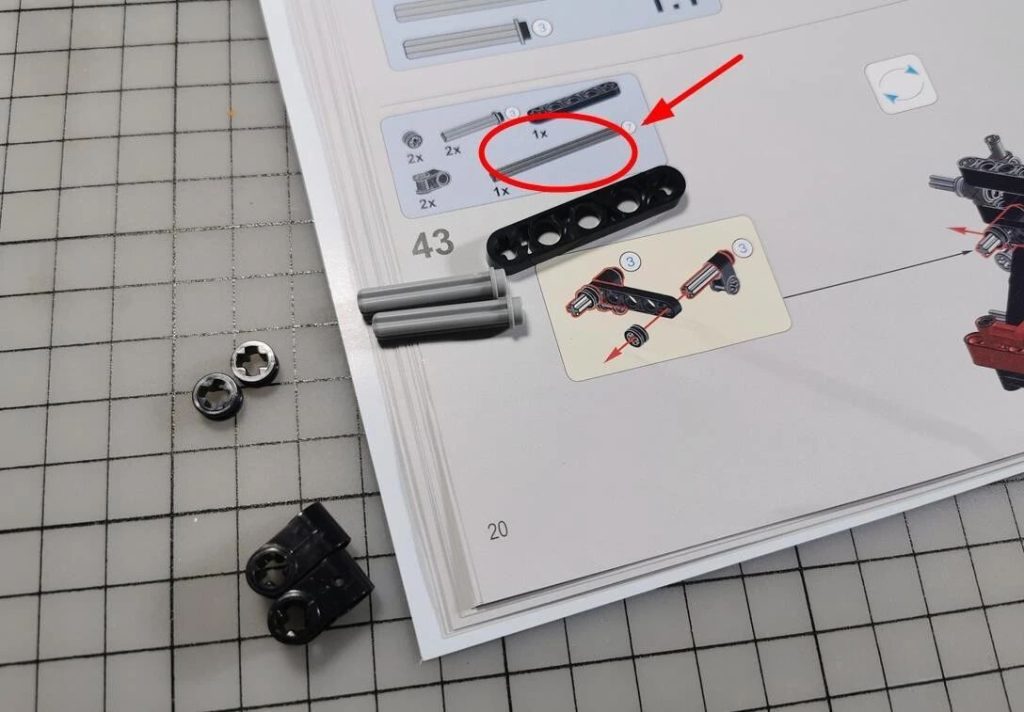
There is an error in step 111 of the instructions. The white 3/4 pin of the 4274 is facing the wrong way, the correct direction should be up.

I generally don’t go into great detail with my building process (unless there’s a need to explain something in depth or correct an error in the instruction booklet). I believe it’s hard to visualize the entire process from just reading my guide if you haven’t bought and built the set yourself. Understanding the entire process from this perspective might not be very valuable. Why not just download the assembly instructions and skim through them instead?
After finishing this model set, my impressions are as follows:
What I feel good:
- The quality of the bricks and the clamping force is better than expected, and the organization of the parts in the bags was well thought out, making the assembly process easier.
- Some small parts are supplied as replacements. So many more parts in the end.
- The motorization and control supplied with the model work perfectly.
- The price-performance ratio is considered good.
What is bad:
- The #1 bag was missing a 7-unit long 44294 cross shaft, which extending the building time.
- The different shades of grey parts (light grey, dark grey, black) are not easily distinguishable in the instructions.
- Remote control design is not optimal, and the direction of each channel is not clearly described.
Compared to all types of MOC works, there are noticeably fewer engineering vehicle models than sports cars and off-roaders. But for most people, when it comes to real playability, it goes: construction vehicles > off-roaders > sports cars. That’s because not many people will take their sports cars models for a run outdoors, and it’s hard to zoom them around indoors.
So, if you’re choosing a top-notch engineering vehicle model, I highly recommend this Forklift by Mould King.
At the very least, it won’t just gather dust in a corner after being built.